- Angular 2 教程
- Angular 2 - 主页
- Angular 2 - 概述
- Angular 2 - 环境
- Angular 2 - 你好世界
- Angular 2 - 模块
- Angular 2 - 架构
- Angular 2 - 组件
- Angular 2 - 模板
- Angular 2 - 指令
- Angular 2 - 元数据
- Angular 2 - 数据绑定
- 使用 HTTP 进行 CRUD 操作
- Angular 2 - 错误处理
- Angular 2 - 路由
- Angular 2 - 导航
- Angular 2 - 表单
- Angular 2 - CLI
- Angular 2 - 依赖注入
- Angular 2 - 高级配置
- Angular 2 - 第三方控件
- Angular 2 - 数据显示
- Angular 2 - 处理事件
- Angular 2 - 转换数据
- Angular 2 - 自定义管道
- Angular 2 - 用户输入
- Angular 2 - 生命周期挂钩
- Angular 2 - 嵌套容器
- Angular 2 - 服务
- Angular 2 有用资源
- Angular 2 - 问题与解答
- Angular 2 - 快速指南
- Angular 2 - 有用的资源
- Angular 2 - 讨论
Angular 2 - 环境
要开始使用 Angular 2,您需要安装以下关键组件。
Npm - 这被称为节点包管理器,用于与开源存储库一起工作。Angular JS 作为一个框架依赖于其他组件。npm可用于下载这些依赖项并将它们附加到您的项目中。
Git - 这是源代码软件,可用于从github角度站点获取示例应用程序。
编辑器- 有许多编辑器可用于 Angular JS 开发,例如 Visual Studio code 和 WebStorm。在我们的教程中,我们将使用 Microsoft 免费提供的 Visual Studio 代码。
npm 安装
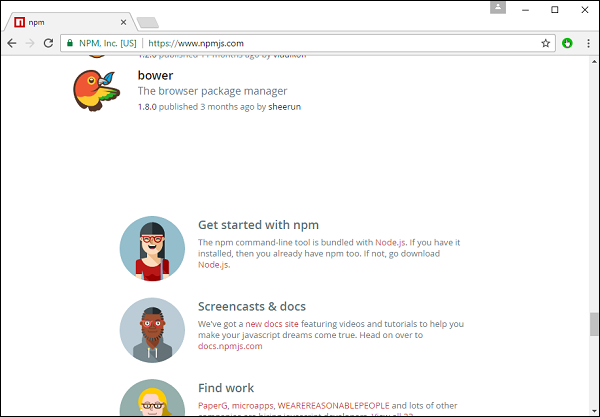
现在让我们看看安装 npm 的步骤。npm 的官方网站是https://www.npmjs.com/

步骤 1 - 转到网站中的“npm 入门”部分。
步骤 2 - 在下一个屏幕中,根据操作系统选择要下载的安装程序。为了进行本练习,请下载 Windows 64 位版本。

步骤 3 - 启动安装程序。在初始屏幕中,单击“下一步”按钮。

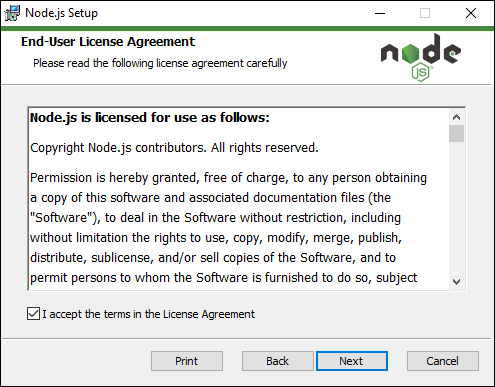
步骤 4 - 在下一个屏幕中,接受许可协议并单击下一步按钮。
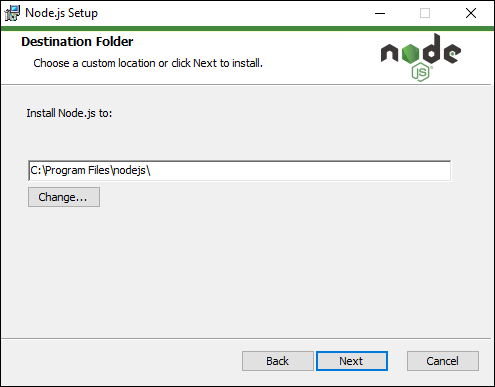
步骤 5 - 在下一个屏幕中,选择安装的目标文件夹,然后单击“下一步”按钮。
步骤 6 - 在下一个屏幕中选择组件,然后单击“下一步”按钮。您可以接受默认安装的所有组件。

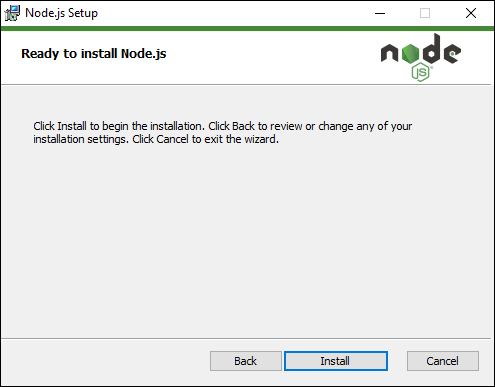
步骤 7 - 在下一个屏幕中,单击“安装”按钮。
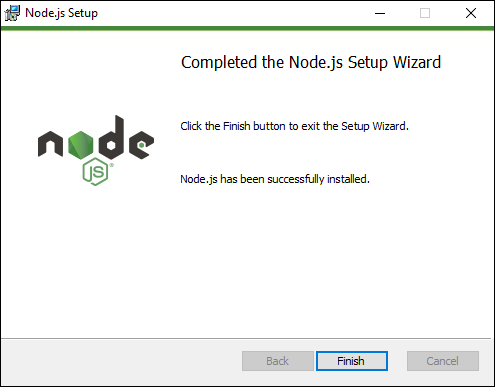
步骤 8 - 安装完成后,单击“完成”按钮。
步骤 9 - 要确认安装,在命令提示符中,您可以发出命令 npm version。您将获得 npm 的版本号,如下面的屏幕截图所示。

Visual Studio 代码的安装
以下是 Visual Studio Code 的功能 -
与 Visual Studio 的实际版本相比,Light 编辑器。
可用于Clojure、Java、Objective-C 等编码语言和许多其他语言。
内置 Git 扩展。
内置 IntelliSense 功能。
更多的开发扩展。
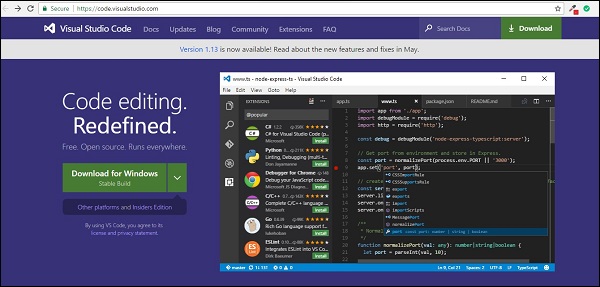
Visual Studio code 的官方网站是https://code.visualstudio.com/
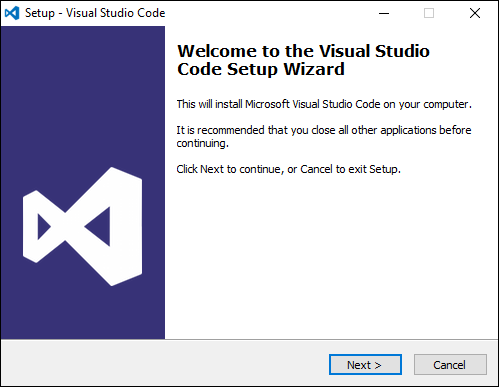
步骤 1 - 下载完成后,请按照安装步骤操作。在初始屏幕中,单击“下一步”按钮。
步骤 2 - 在下一个屏幕中,接受许可协议并单击“下一步”按钮。

步骤 3 - 在下一个屏幕中,选择安装的目标位置,然后单击下一步按钮。

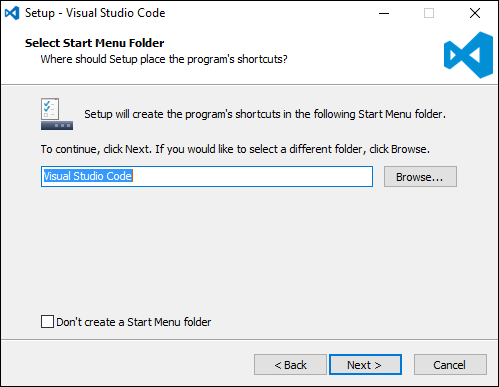
步骤 4 - 选择程序快捷方式的名称,然后单击“下一步”按钮。
步骤 5 - 接受默认设置并单击“下一步”按钮。
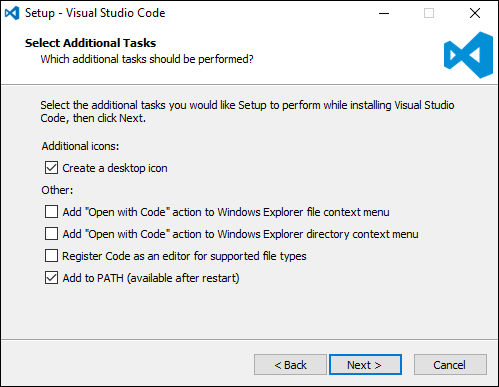
步骤 6 - 单击下一个屏幕中的“安装”按钮。
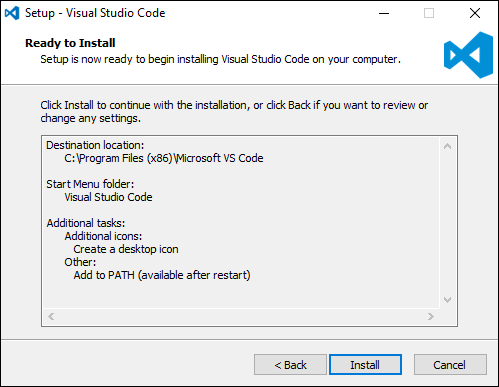
步骤 7 - 在最终屏幕中,单击“完成”按钮启动 Visual Studio Code。

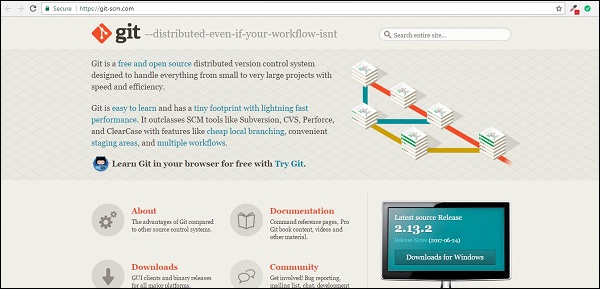
安装Git
Git 的一些主要功能是 -
- 轻松分支和合并代码。
- 规定在 Git 内使用多种技术来实现代码流。
- 与其他 SCM 工具相比,Git 非常快。
- 提供更好的数据保证。
- 免费且开源。
Git 的官方网站是https://git-scm.com/
步骤 1 - 下载完成后,请按照安装步骤操作。在初始屏幕中,单击“下一步”按钮。

步骤 2 - 选择需要安装的组件。您可以接受默认组件。

步骤 3 - 在下一步中,选择程序快捷方式名称,然后单击“下一步”按钮。

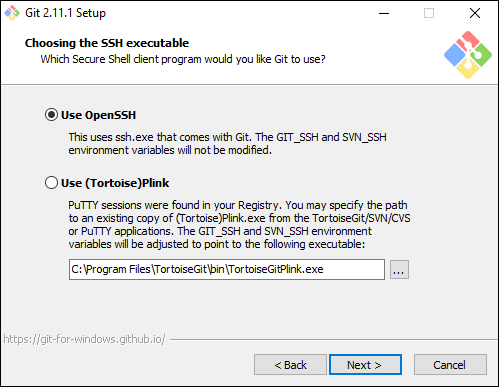
步骤 4 - 接受默认的 SSH 可执行文件,然后单击“下一步”按钮。
步骤 5 - 接受“签出 Windows 风格,提交 Unix 风格结尾”的默认设置,然后单击“下一步”按钮。

步骤 6 - 现在,接受终端仿真器的默认设置,然后单击“下一步”按钮。

步骤 7 - 接受默认设置并单击“下一步”按钮。

步骤 8 - 您可以跳过实验选项并单击“安装”按钮。

步骤 9 - 在最终屏幕中,单击“完成”按钮完成安装。
