- Angular 2 教程
- Angular 2 - 主页
- Angular 2 - 概述
- Angular 2 - 环境
- Angular 2 - 你好世界
- Angular 2 - 模块
- Angular 2 - 架构
- Angular 2 - 组件
- Angular 2 - 模板
- Angular 2 - 指令
- Angular 2 - 元数据
- Angular 2 - 数据绑定
- 使用 HTTP 进行 CRUD 操作
- Angular 2 - 错误处理
- Angular 2 - 路由
- Angular 2 - 导航
- Angular 2 - 表单
- Angular 2 - CLI
- Angular 2 - 依赖注入
- Angular 2 - 高级配置
- Angular 2 - 第三方控件
- Angular 2 - 数据显示
- Angular 2 - 处理事件
- Angular 2 - 转换数据
- Angular 2 - 自定义管道
- Angular 2 - 用户输入
- Angular 2 - 生命周期挂钩
- Angular 2 - 嵌套容器
- Angular 2 - 服务
- Angular 2 有用资源
- Angular 2 - 问题与解答
- Angular 2 - 快速指南
- Angular 2 - 有用的资源
- Angular 2 - 讨论
Angular 2 - 第三方控件
Angular 2 允许您使用任何第三方控件。一旦决定要实施的控制,您需要执行以下步骤 -
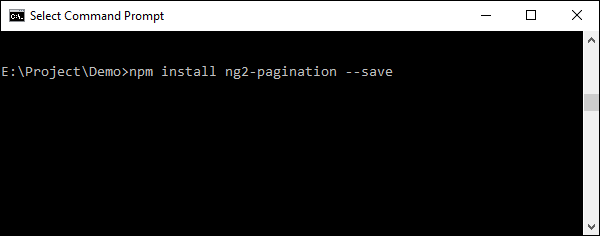
步骤 1 - 使用 npm 命令安装组件。
例如,我们将通过以下命令安装ng2-pagination第三方控件。
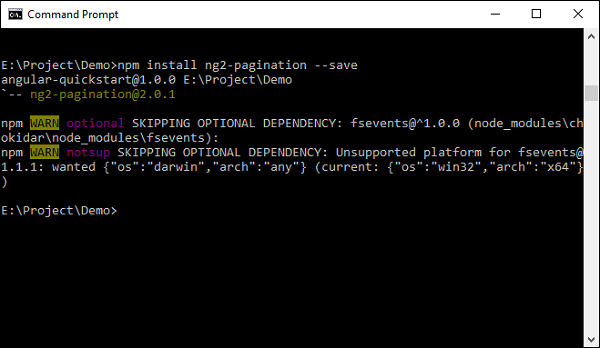
npm install ng2-pagination --save
完成后,您将看到该组件已成功安装。
步骤 2 - 将组件包含在 app.module.ts 文件中。
import { NgModule }      from '@angular/core';
import { BrowserModule } from '@angular/platform-browser';
import { AppComponent }  from './app.component';
import {Ng2PaginationModule} from 'ng2-pagination';

@NgModule ({
   imports:      [ BrowserModule,Ng2PaginationModule],
   declarations: [ AppComponent],
   bootstrap:    [ AppComponent ]
})
export class AppModule { }
步骤 3 - 最后,在 app.component.ts 文件中实现该组件。
import { Component } from '@angular/core';
import {PaginatePipe, PaginationService} from 'ng2-pagination';

@Component ({
   selector: 'my-app',
   template: '
      <ul>
         <li *ngFor = "let item of collection | paginate: {
            itemsPerPage: 5, currentPage: p }"> ... </li>
      </ul>
      <pagination-controls (pageChange) = "p = $event"></pagination-controls>
   '
})
export class AppComponent { }
步骤 4 - 保存所有代码更改并刷新浏览器,您将得到以下输出。
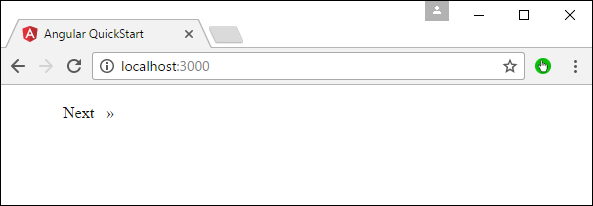
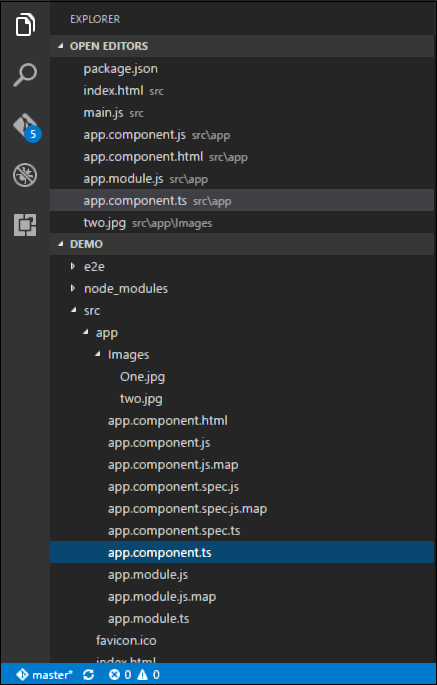
在上图中,您可以看到图像已以 One.jpg 和 Two.jpg 形式存储在 Images 文件夹中。
步骤 5 - 将 app.component.ts 文件的代码更改为以下内容。
import {
   Component
} from '@angular/core';

@Component ({
   selector: 'my-app',
   templateUrl: 'app/app.component.html'
})

export class AppComponent {
   appTitle: string = 'Welcome';

   appList: any[] = [{
      "ID": "1",
      "Name": "One",
      "url": 'app/Images/One.jpg'
   },
   {
      "ID": "2",
      "Name": "Two",
      "url": 'app/Images/two.jpg'
   } ];
}
上述代码需要注意以下几点。
我们正在定义一个名为 appList 的数组,其类型为 any。这样它就可以存储任何类型的元素。
我们定义了 2 个元素。每个元素都有 3 个属性,ID、Name 和 url。
每个元素的 URL 是 2 个图像的相对路径。
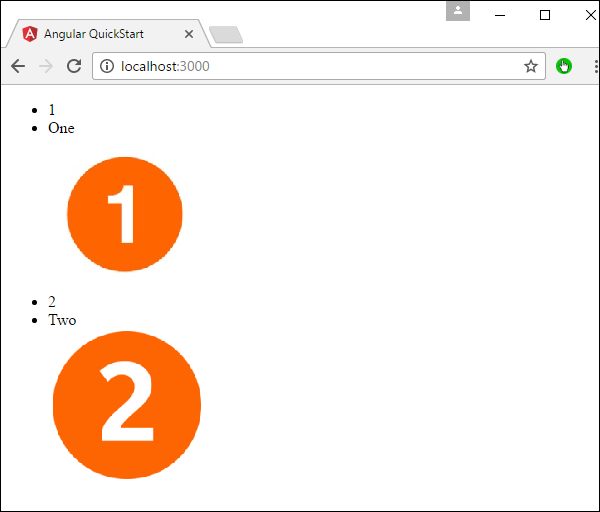
步骤 6 - 对模板文件 app/app.component.html 文件进行以下更改。
<div *ngFor = 'let lst of appList'>
   <ul>
      <li>{{lst.ID}}</li>
      <li>{{lst.Name}}</li>
      <img [src] = 'lst.url'>
   </ul>
</div>
上述程序需要注意以下几点 -
ngFor 指令用于迭代 appList 属性的所有元素。
对于每个属性,它都使用列表元素来显示图像。
然后,img 标签的 src 属性将绑定到我们类中 appList 的 url 属性。
步骤 7 - 保存所有代码更改并刷新浏览器,您将得到以下输出。从输出中,您可以清楚地看到图像已被拾取并显示在输出中。