- Windows 10 教程
- Windows 10 - 主页
- Windows 10 - 概述
- Windows 10 - 安装
- Windows 10 - 入门
- Windows 10 - GUI 基础知识
- Windows 10 - 导航
- Windows 10 - 开始菜单
- Windows 10 - 任务栏
- Windows 10 - 平板电脑模式
- Windows 10 - 文件资源管理器
- Windows 10 - Cortana
- Windows 10 - 通知
- Windows 10 - 快速操作
- Windows 10 - 云
- Windows 10 - 通用应用程序
- Windows 10 - 多个桌面
- Windows 10 - 用户管理
- Windows 10 - 安全
- Windows 10 - 家长控制
- Windows 10 - 应用程序
- Windows 10 - 网页浏览
- Windows 10 - 网络
- Windows 10 - 虚拟化
- Windows 10 - 远程访问
- Windows 10 - 备份和恢复
- Windows 10 - 斯巴达计划
- Windows 10 - 应用程序管理
- Windows 10 - 电子邮件管理
- Windows 10 - 键盘快捷键
- Windows 10 - 系统托盘
- Windows 10 - 媒体管理
- Windows 10 - 收藏夹设置
- Windows 10 - 快捷方式
- Windows 10 - 手机
- Windows 10 有用资源
- Windows 10 - 快速指南
- Windows 10 - 有用的资源
- Windows 10 - 讨论
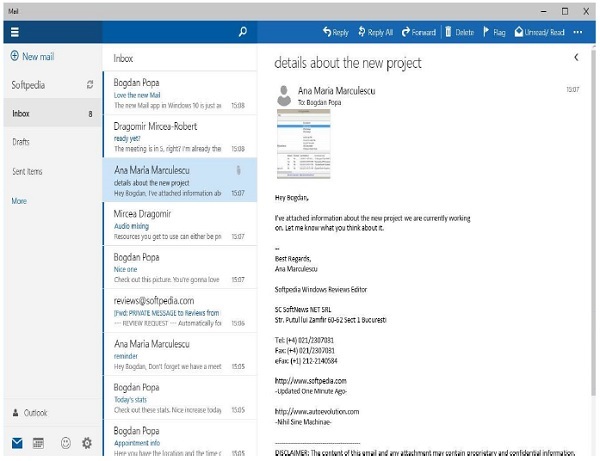
Windows 10 - 电子邮件管理
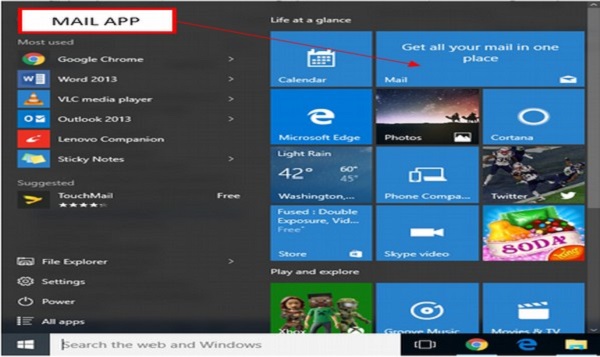
Windows 10 具有新的邮件应用程序来帮助您处理电子邮件。您可以直接从“开始”菜单访问“邮件”应用程序。
如果您使用邮件帐户连接到 Windows,邮件应用程序将自动配置自身以向您显示电子邮件。但是,如果您使用本地帐户,邮件应用程序会要求您进行配置。
配置邮件应用程序
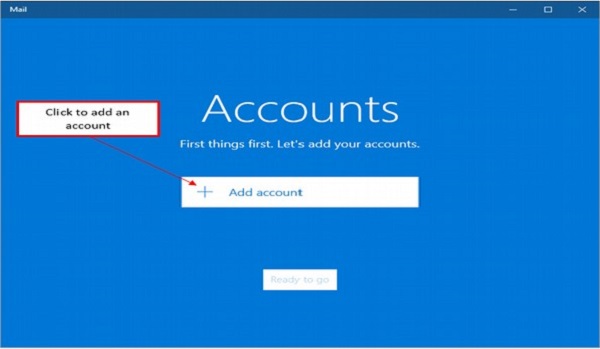
第一次访问邮件帐户时,您将看到此窗口。
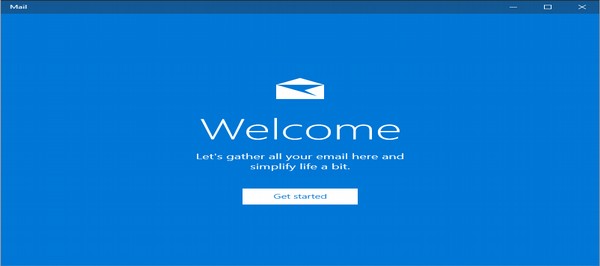
要配置它,请按照以下步骤操作 -
步骤 1 - 单击“开始”按钮。
步骤 2 - 在下一个窗口中,添加您要与Mail一起使用的帐户。
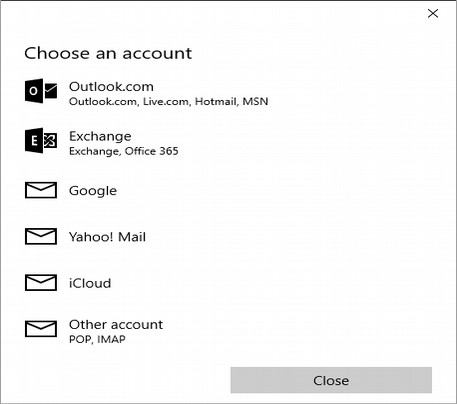
步骤 3 - 在选择帐户窗口中,选择您要配置的帐户类型。邮件与大多数当前邮件提供商兼容。
步骤 4 - 如果您使用的是Microsoft 帐户,请输入您的用户名和密码。
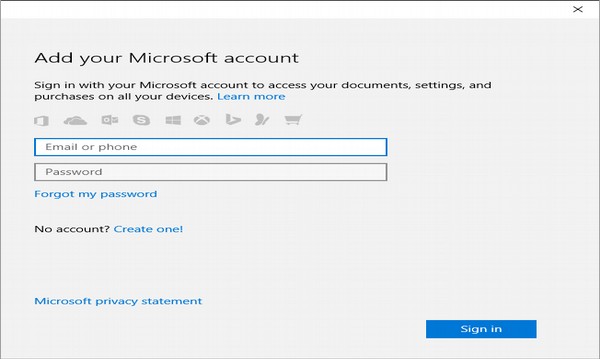
步骤 5 - 一段时间后,邮件应用程序将开始加载您的电子邮件。