- Ubuntu Tutorial
- Ubuntu - Home
- Ubuntu - Overview
- Ubuntu - Flavors
- Ubuntu - Environment
- Ubuntu - Device Drivers
- Ubuntu - Software Center
- Ubuntu - Browsers
- Ubuntu - Email
- Ubuntu - Messaging
- Ubuntu - Media Players
- Ubuntu - User Management
- Ubuntu - Files & Folders
- Ubuntu - Word Writer
- Ubuntu - Spreadsheets
- Ubuntu - LibreOffice
- Ubuntu - Command Line
- Ubuntu - Scripting
- Ubuntu - Networking
- Ubuntu - Server Installation
- Ubuntu - Secure Shell
- Ubuntu - Development
- Ubuntu - Nginx
- Ubuntu - Virtual Machines
- Ubuntu - Installing MySQL & Python
- Ubuntu - Node.js
- Ubuntu - Docker
- Ubuntu - On the Cloud
- Ubuntu Useful Resources
- Ubuntu - Quick Guide
- Ubuntu - Useful Resources
- Ubuntu - Discussion
Ubuntu-环境
我们需要确保拥有正确的硬件规格才能安装 Ubuntu。
系统要求
在继续安装之前,请确保满足以下系统要求。
| 记忆 | 2GB 内存(推荐) |
| 磁盘空间 | 25GB 可用硬盘空间 |
| 处理器 | 2 GHz 双核处理器或更好 |
| 其他需求 | 带有安装程序介质的可选 DVD 驱动器或 USB 驱动器。用于下载可选更新的互联网连接。 |
下载Ubuntu
步骤 1 - 要下载 Ubuntu,请访问以下网址 - https://www.ubuntu.com/download/desktop

步骤 2 - 在此页面上,如果需要,可以选择下载旧版本的 Ubuntu。单击替代下载和种子链接。
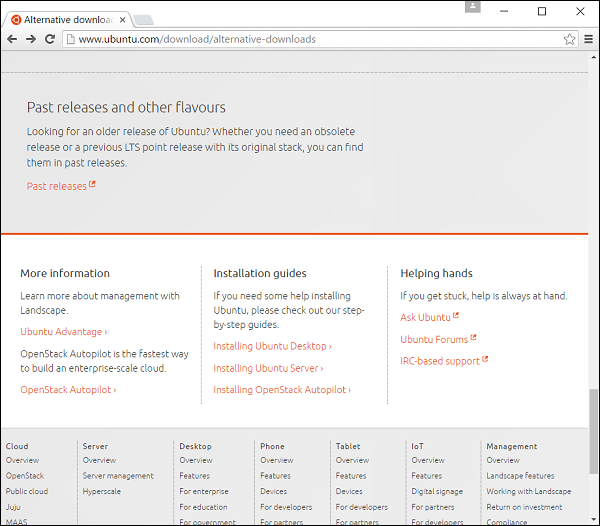
步骤 3 - 转到过去的版本链接。然后它会显示一个页面,其中包含 Ubuntu 软件的所有过去版本。

安装Ubuntu
现在让我们学习如何安装桌面版本的 Ubuntu。出于本教程的目的,我们将使用最新版本 16.04。安装程序是一个 ISO 映像,可以安装在 DVD 驱动器或 USB 记忆棒上。映像在计算机上启动后,将执行以下安装步骤。
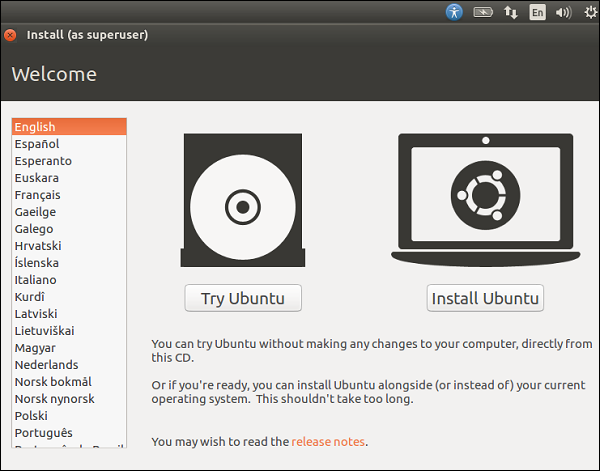
第 1 步- 第一个屏幕允许我们安装或试用 Ubuntu。试用选项允许我们在不实际安装的情况下了解 Ubuntu 的功能。但是,我们想使用 Ubuntu,所以让我们选择 Install Ubuntu 选项。
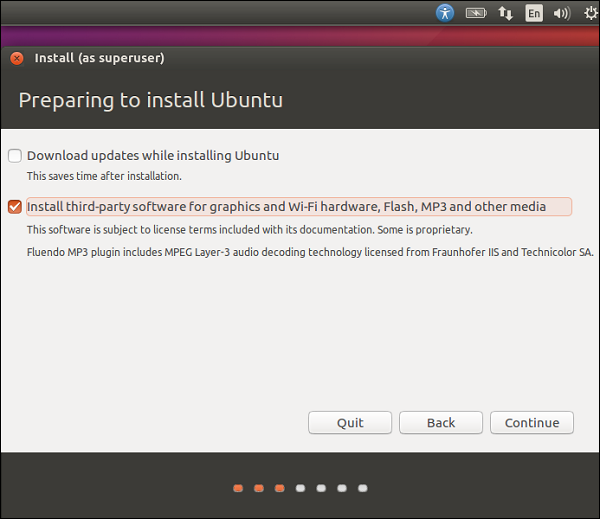
步骤 2 - 下一个屏幕为您提供 2 个选项。一种是安装时在后台下载更新,另一种是安装第三方软件。选中安装第3方软件的选项。然后单击继续按钮。
步骤 3 - 在下一个屏幕中,显示以下选项 -
磁盘被擦除并进行安装。如果磁盘上已有另一个操作系统,那么 Ubuntu 会检测到它并为用户提供并行安装操作系统的选项。
有一个选项可以加密安装。这样,如果其他人窃取数据,他们将无法解密数据。
最后,Linux 提供了一种称为 LVM 的工具,可用于拍摄磁盘快照。
目前,为了使安装简单,让我们保留这些选项,然后单击“立即安装”按钮继续安装。

步骤 4 - 在以下屏幕中,系统将提示我们是否要擦除磁盘。单击继续按钮继续。

步骤 5 - 在此屏幕中,我们将被要求确认我们的位置。单击继续按钮继续。

步骤 6 - 现在,我们将被要求确认语言和键盘设置。让我们选择英语(英国)作为首选设置。

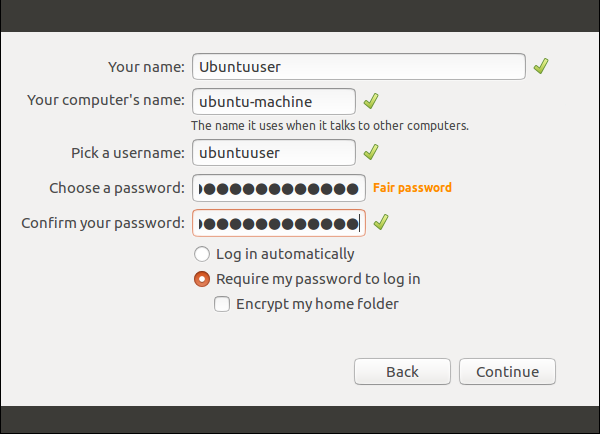
步骤 7 - 在以下屏幕中,我们需要输入用于登录系统的用户名、计算机名和密码。填写必要的详细信息,如以下屏幕截图所示。然后,单击继续按钮继续。
系统现在将继续安装,我们将看到安装进度,如下图所示。

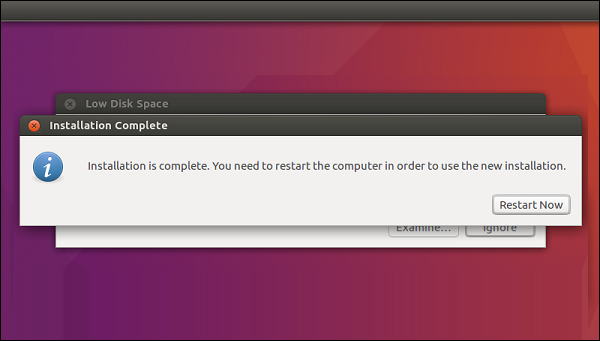
安装结束时,系统会提示重新启动。
步骤 8 - 单击“立即重新启动”继续。
重启完成后,使用用户名和密码登录。

登录后,桌面将如下图所示。

我们现在有了一个功能齐全的 Ubuntu 版本。在后续章节中,我们将了解各种可用的功能。
在继续其余章节之前,让我们快速浏览一下 Ubuntu 环境。
控制面板
屏幕左侧的控制面板提供了所有最常用应用程序的快捷方式。使用这些选项,我们可以启动 LibreOffice 组件、Firefox 浏览器、软件中心和许多其他应用程序。

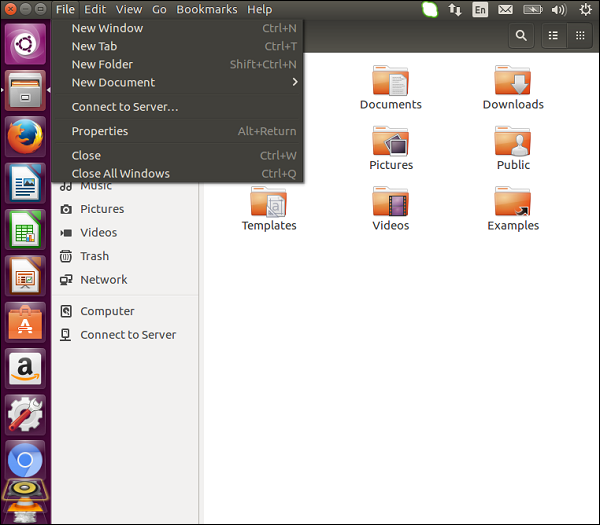
菜单栏
当我们启动任何应用程序时,我们将在应用程序顶部获得关联的菜单栏,其中将具有该应用程序的不同菜单选项。如果需要,我们可以选择关闭整个窗口或调整窗口大小。
任务栏
屏幕右侧是任务栏。任务栏允许我们在笔记本电脑上工作时选择音量设置的更改、查看互联网连接的状态、更改语言和其他设置以及查看电池状态。
