- Ubuntu Tutorial
- Ubuntu - Home
- Ubuntu - Overview
- Ubuntu - Flavors
- Ubuntu - Environment
- Ubuntu - Device Drivers
- Ubuntu - Software Center
- Ubuntu - Browsers
- Ubuntu - Email
- Ubuntu - Messaging
- Ubuntu - Media Players
- Ubuntu - User Management
- Ubuntu - Files & Folders
- Ubuntu - Word Writer
- Ubuntu - Spreadsheets
- Ubuntu - LibreOffice
- Ubuntu - Command Line
- Ubuntu - Scripting
- Ubuntu - Networking
- Ubuntu - Server Installation
- Ubuntu - Secure Shell
- Ubuntu - Development
- Ubuntu - Nginx
- Ubuntu - Virtual Machines
- Ubuntu - Installing MySQL & Python
- Ubuntu - Node.js
- Ubuntu - Docker
- Ubuntu - On the Cloud
- Ubuntu Useful Resources
- Ubuntu - Quick Guide
- Ubuntu - Useful Resources
- Ubuntu - Discussion
Ubuntu——在云上
我们还可以将 Ubuntu 安装在各种云环境上,例如 Google Cloud、Amazon Web 服务和 Azure Web 服务。在本章中,我们将了解如何在 Amazon Web 服务上启动并运行 Ubuntu。以下是实现此目的的步骤。
步骤 1 - 人们可以获得一个亚马逊网络服务的免费帐户。我们需要做的就是通过以下网址向 AWS 注册 - https://aws.amazon.com/
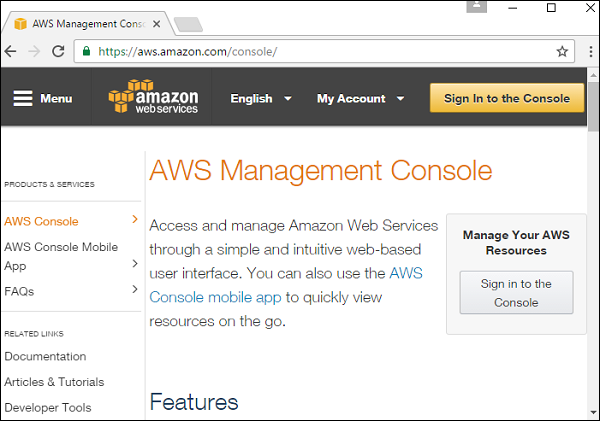
步骤 2 - 单击登录控制台,它会显示以下对话框。

步骤 3 - 单击“我是新用户”选项,然后输入现有 Gmail 帐户所需的电子邮件 ID。然后单击“使用我们的安全服务器登录”按钮。然后,我们需要在随后的屏幕中提供一些信息来创建帐户。
步骤 4 - 创建帐户后,我们可以登录控制台。登录后,单击 EC2 选项。此选项用于在云上创建虚拟机。

步骤 5 - 在以下屏幕截图中,单击“启动实例”按钮。

步骤 6 - 下一个屏幕会提示选择适当的 AMI。AMI 是 Amazon 操作系统的预构建映像。向下滚动直到找到 Ubuntu 选项,然后单击“选择”按钮。

步骤 7 - 在下一个屏幕中,选择机器的配置。选择通用 – t2.micro 选项,然后单击“下一步:配置实例详细信息”按钮。

步骤 8 - 在下一个屏幕中,输入以下详细信息,如屏幕截图所示。

要启动的实例数量 – 保留 1 作为默认值。
VPC – 如果没有现有 VPC,请选择创建新 VPC 的选项。
现在,如果我们选择创建新子网的选项,则需要执行以下子步骤。

单击创建 VPC 按钮。(注意:VPC 被称为虚拟专用网络,用于在隔离环境中存储所有 AWS 对象。)
在创建 VPC 对话框中,输入以下详细信息,然后单击“是创建”按钮。

- 对于子网,保持默认设置不变。
- 对于自动分配公共 IP 选项,选择“使用子网设置(启用)”。
- 将 IAM 角色保留为“无”。
- 将关闭Behave保持为“无”。
- 其余设置可以保留为默认设置。
单击下一步:添加存储按钮。
步骤 9 - 在下一个屏幕中,保持默认存储不变,然后单击“查看并启动”按钮。

步骤 10 - 将弹出审核屏幕。单击启动按钮。

步骤 11 - 下一个屏幕提示创建新的密钥对。创建实例时需要这样做。输入密钥名称并单击下载密钥对按钮。

步骤 12 - 下载完成后,单击“启动实例”按钮。

步骤 13 - 单击“查看实例”按钮。
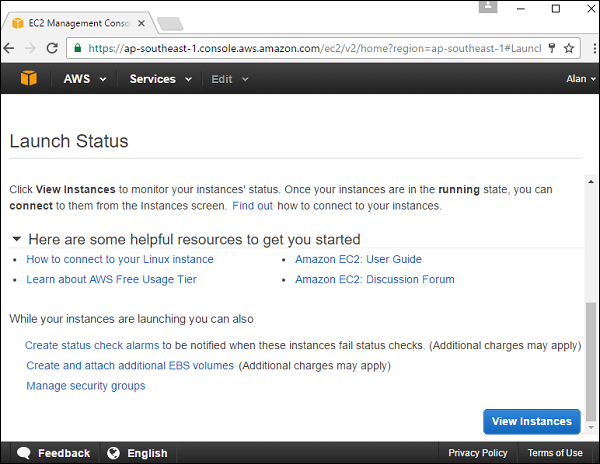
步骤 14 - 实例状态运行后,单击“连接”按钮。

下一个对话框显示登录 Ubuntu 服务器计算机的步骤。
步骤 15 - 像平常一样执行这些步骤,使用 SSH 客户端登录计算机。
